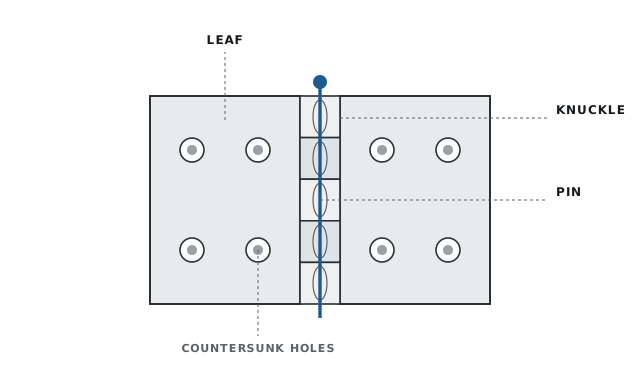
The gist: mark hinge locations on both door and jamb, cut mortises to the exact thickness of the hinge leaf so it sits flush, screw the leaves in, then hang the door. Accuracy in marking and mortise depth is what separates a clean job from a binding door.
Tools you'll need
- Hinges and screws (matching grade to environment)
- Pencil and combination square
- Sharp chisel and mallet (or a hinge-mortising jig and router)
- Drill and self-centering ("Vix") bit
- Utility knife
Step by step
Mark hinge positions
Standard placement: top hinge about 5–7″ from the top of the door, bottom hinge about 10–11″ up from the bottom, and any middle hinge centered between them.
Trace the leaf
Hold each hinge leaf in position and knife or pencil around it on both the door edge and the jamb. Mark the leaf thickness as your mortise depth.
Cut the mortise
Score the outline with a chisel, make shallow relief cuts across the area, then pare to a flat recess exactly as deep as the leaf. The leaf should sit flush with the surface, proud causes binding, deep causes gaps.
Drill and fasten
Use a self-centering bit so screws pull the leaf tight to the mortise. Drive screws straight; an off-center pilot hole pushes the hinge out of position.
Hang the door
Mount door leaves first, then lift the door into the jamb and line up knuckles, dropping pins in from the top. Test the swing and adjust.
Pro tips
- For exterior or heavy doors, replace one screw per jamb hinge with a 2.5–3″ screw that reaches the framing, it carries real weight and prevents sag.
- Use non-removable-pin (NRP) hinges on out-swing exterior doors for security.
Frequently asked questions
Which way do the hinge knuckles face?
The barrel (knuckle) faces the side the door swings toward, the pin must be accessible from the side the door opens to.
Can I install hinges without a chisel?
A hinge-mortise jig with a router is faster and cleaner for multiple doors, but a sharp chisel is all you need for one or two.